
Short answer: A DIY drain inspection camera is useful only when its head can enter the access point and the image answers the question you actually have. The C30-M listing gives a 5 m semi-rigid cable, a single 8.5 mm camera head, listed IP67 camera-probe protection and LED illumination. It does not specify field of view, focal distance, screen, recording, cable bend radius or a minimum passage diameter. Measure the access route, plan lighting and expect the camera to show only what its head can reach and illuminate. Treat a visible obstruction as evidence to investigate, not a complete diagnosis of the whole drainage run.
Start with the access point
Measure the opening before thinking about the five-metre cable. The C30-M page lists a single 8.5 mm camera head, which is the only published head dimension. The listing does not specify connector shape, minimum bend radius, cable stiffness, lens protrusion or the smallest passage it can safely negotiate. Do not turn the head diameter into a guarantee that it will pass every 8.5 mm opening.
Identify whether the inspection point is a removable trap, a rodding access, a drain grate or another opening you can reach without dismantling unsafe equipment. The camera may help you observe an accessible section, but the page does not document a drain-specific accessory, retrieval hook or cleaning method. Plan the route and stopping point before pushing the cable.
| Published fact | Practical use | Still unspecified |
|---|---|---|
| 5 m semi-rigid cable | A stated cable length for planning | Usable reach after bends and handling |
| Single 8.5 mm camera head | Head size for access planning | Minimum passage and bend radius |
| LED illumination | Light is listed at the camera | Brightness, beam angle and control |
| IP67 camera-probe protection | A protection statement for the probe | Whole-system rating and pressure or chemical limits |
Plan light and image limits
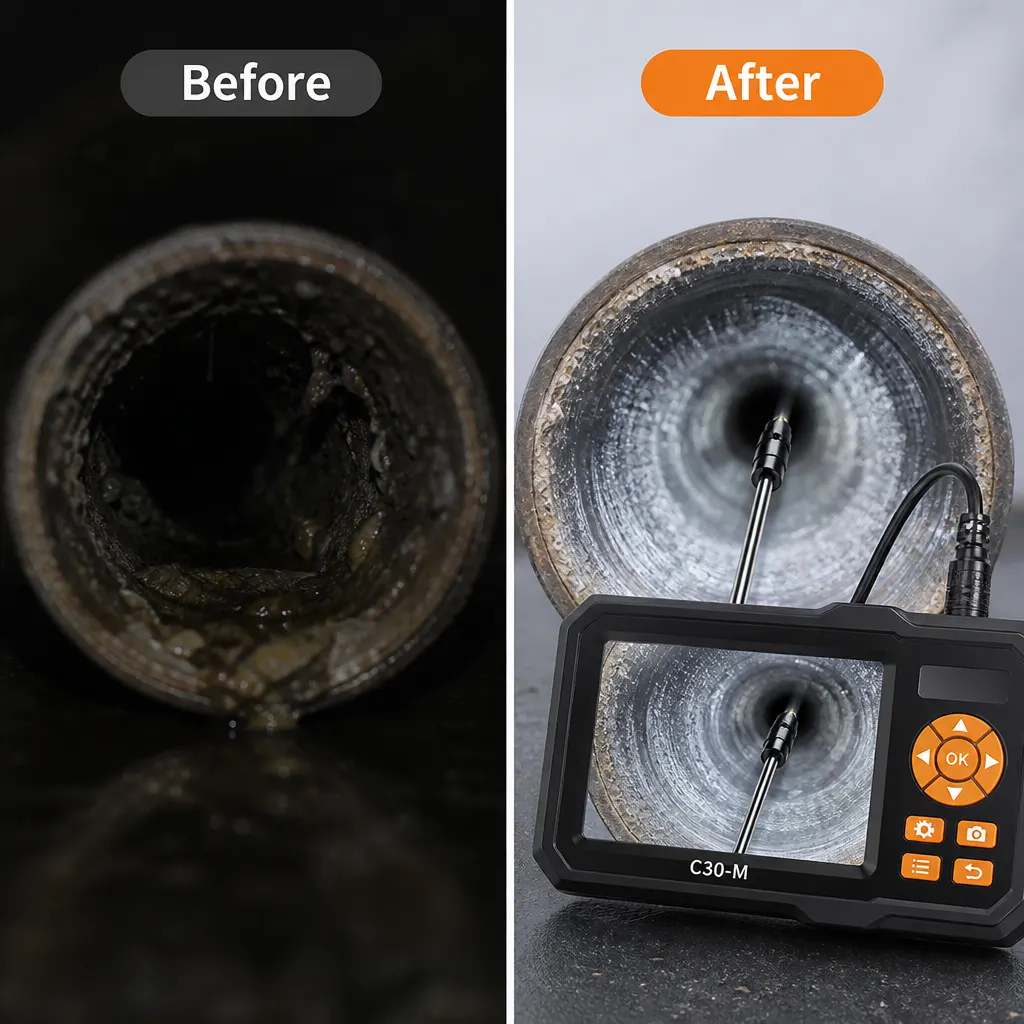
The page lists LED illumination, but it does not state output, beam spread, brightness control or whether the light can be turned off. Dark, reflective or cloudy water can still produce a poor view. Position the camera slowly, keep the lens as clear as the task permits and avoid treating a bright spot as proof that the entire pipe is visible.
Field of view, focus distance, image resolution, display arrangement and recording support are not specified on the product page. Manufacturer does not specify those values in the storefront facts. The camera can show an image only within the lens's actual optical boundary, so a clean-looking patch should not be described as a survey of the full drain.
- Sketch the access point and the direction of the suspected obstruction before inserting the camera.
- Check the 8.5 mm head against the opening and plan a stop if the cable meets resistance.
- Use the listed LED illumination, move slowly and note the distance travelled rather than guessing from cable length alone.
- Record what is visible and where the view ends; arrange a professional inspection when the route, cause or safety remains uncertain.
Use the cable without forcing it
A semi-rigid cable can help you steer a camera through a short accessible route, but the listing does not specify its bend radius or allowable pushing force. Feed it gently and stop at resistance rather than converting the five-metre specification into permission to force a bend, trap or joint. A stuck head can turn a visual check into a retrieval problem.
The product page lists IP67 camera-probe protection. Keep the claim attached to the camera probe as written; it does not establish that the display, handle, connector or cable joint has the same protection. It also does not specify resistance to drain chemicals, hot liquids, pressure or prolonged immersion. Clean and store the kit according to its own instructions.
Know when the view is not enough
A DIY camera can help locate a visible blockage, standing water or a damaged-looking section, but it cannot prove what lies beyond the lens. The page does not specify a field of view, depth of field, image recording or route-tracking system. A bend, murky liquid, deposit or side branch can hide the cause. State the observation and its boundary separately.
Before buying, confirm the screen and recording arrangement if you need to save evidence, the exact access diameter if a tight entry matters, and the cleaning or chemical limits if the camera will enter a dirty drain. Manufacturer does not specify those points. Choose the C30-M for the narrow documented inspection setup, not for an imagined professional survey system.
Related guides and product details
The C30-M can suit a careful DIY visual check where the 8.5 mm head and five-metre cable match the access route, but its undocumented optical and system limits must stay visible. Read Endoscope for a Blocked Toilet UK: What It Can Actually Show for related guidance. Read Endoscope Camera 5m UK: Check the Head, Cable and View for related guidance. Review the documented specification on the C30-M 5 m single-head endoscope camera product page before ordering.
Sources and safety context
- Supports the cable length, 8.5 mm head, probe IP67 listing and LED illumination. C30-M 5 m single-head endoscope camera product page.